
Ever tried to set up your USB microphone only to find that it’s not working properly? You’re not alone! Getting a USB microphone to work on your laptop can sometimes feel like trying to solve a complex puzzle. But don’t worry—this guide will walk you through the process step-by-step. Whether you’re gearing up for a podcast, streaming, or just need clear audio for video calls, we’ve got you covered.
Understanding USB Microphones
What is a USB Microphone?
A USB microphone is a device that captures sound and transmits it directly to your laptop via a USB port. Unlike traditional microphones that require an audio interface or mixer, USB microphones are plug-and-play, making them incredibly user-friendly. They are commonly used for recording podcasts, making YouTube videos, and participating in online meetings.
Benefits of Using a USB Microphone
USB microphones offer several advantages:
- Ease of Use: Simply plug it into a USB port and it’s ready to go.
- High-Quality Sound: Many USB microphones provide excellent sound quality for their price.
- Portability: Easy to carry around, making them perfect for on-the-go recording.
Preparing Your Laptop
Before you start using your USB microphone, make sure your laptop is ready. Here’s how to prepare it:
Check USB Ports
Ensure that the USB ports on your laptop are functioning correctly. Sometimes, the issue might be as simple as a faulty port. Try plugging other devices into the same port to see if they work.
Update Operating System
An outdated operating system might not support your USB microphone properly. Make sure your laptop’s operating system is up-to-date. On Windows, go to Settings > Update & Security > Windows Update. On macOS, go to System Preferences > Software Update.
Install Necessary Drivers
Most USB microphones are plug-and-play, meaning they don’t require special drivers. However, some models might need specific drivers to function correctly. Check the manufacturer’s website for any required drivers and install them.
Setting Up Your USB Microphone
Once your laptop is prepared, it’s time to set up your microphone. Follow these steps:
Plugging in the Microphone
Insert the USB plug of your microphone into an available USB port on your laptop. You should hear a sound indicating that a new device has been connected.
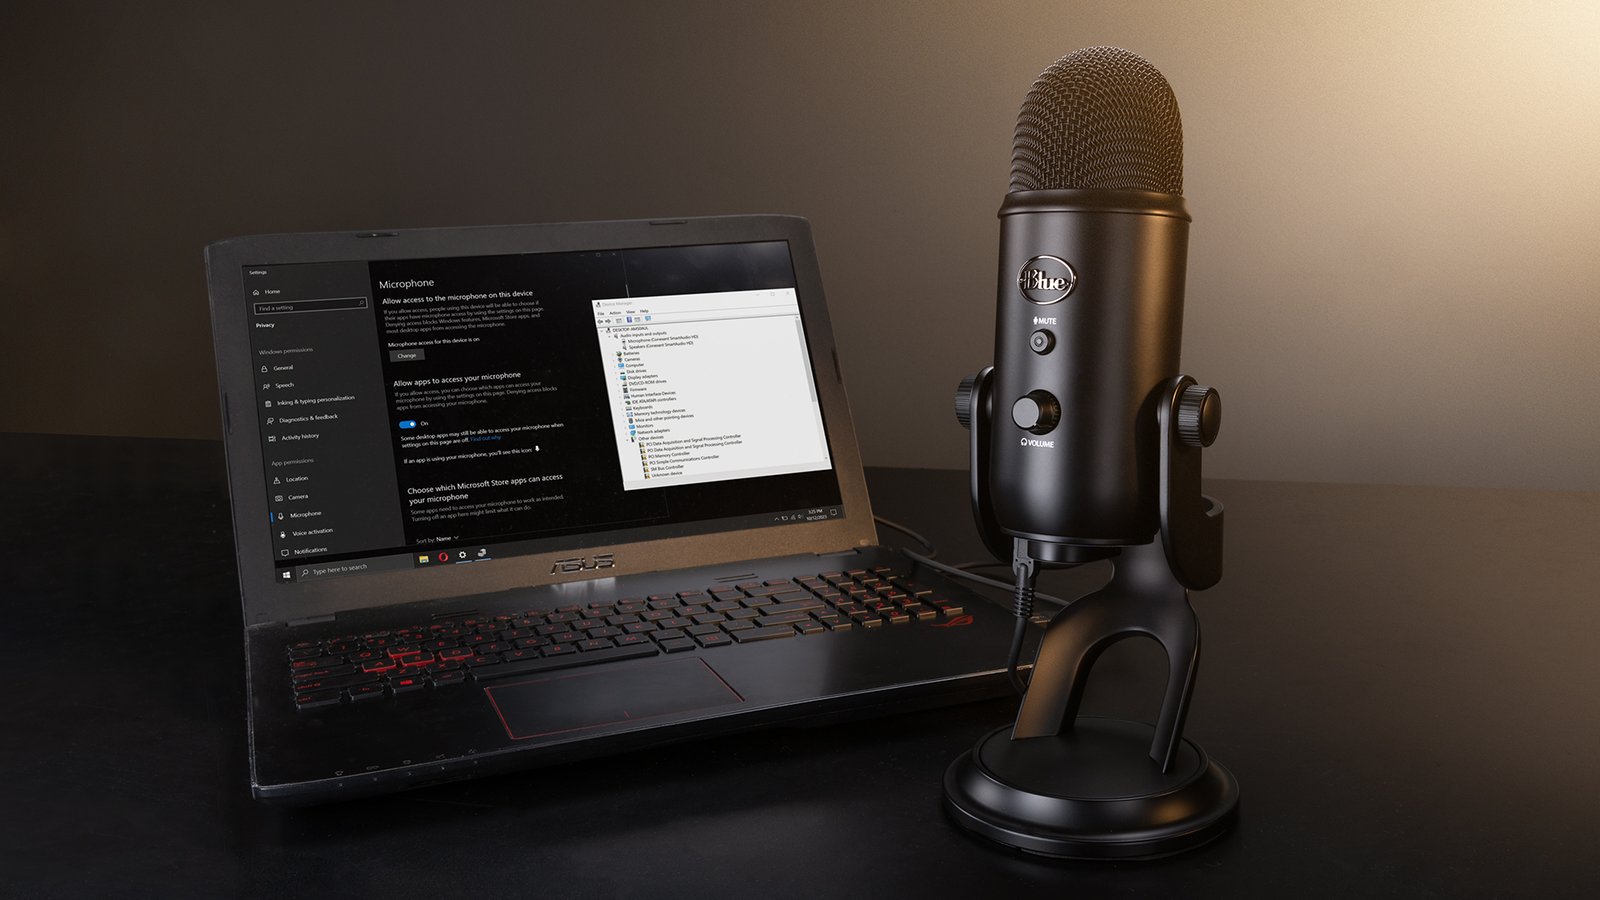
Configuring Sound Settings
Now, you need to configure your laptop’s sound settings to recognize and use the USB microphone.
On Windows
- Right-click the speaker icon in the system tray and select Open Sound settings.
- Under the Input section, select your USB microphone from the list of available devices.
- Click on Device Properties to adjust levels and test your microphone.
On macOS
- Go to System Preferences > Sound > Input.
- Select your USB microphone from the list.
- Adjust the input volume and test your microphone to ensure it’s working correctly.
Troubleshooting Common Issues
If your USB microphone isn’t working as expected, try these troubleshooting tips:
Microphone Not Detected
- Check Connections: Ensure the microphone is properly connected to the USB port.
- Restart Laptop: Sometimes a simple restart can resolve detection issues.
- Update Drivers: Make sure all drivers are up-to-date.
Poor Audio Quality
- Check Placement: Ensure the microphone is positioned correctly.
- Reduce Background Noise: Use a pop filter or adjust settings to minimize background noise.
- Adjust Levels: In sound settings, ensure the microphone levels are appropriately set.
Echo or Feedback Issues
- Adjust Volume: Lower the microphone input volume to reduce echo.
- Check Speakers: Ensure that the speakers are not too close to the microphone.
- Use Headphones: To avoid feedback, use headphones instead of speakers.
Advanced Setup and Tips
For those who want to dive deeper into optimizing their microphone setup:
Using Audio Software
Consider using audio software like Audacity or GarageBand for more control over your recordings. These programs offer advanced features for editing and enhancing audio quality.
Adjusting Gain and Sensitivity
Many USB microphones come with built-in controls for gain and sensitivity. Adjust these settings to suit your recording environment and personal preferences.
Conclusion
Getting your USB microphone to work on your laptop doesn’t have to be a daunting task. By following the steps outlined above, you can set up and optimize your microphone with ease. Remember to check connections, update drivers, and configure your sound settings correctly. With a bit of troubleshooting and fine-tuning, you’ll be ready to record crystal-clear audio in no time.
FAQs
- What should I do if my USB microphone is not recognized by my laptop?
- Ensure it’s properly plugged in, restart your laptop, and check for driver updates.
- How can I improve the audio quality of my USB microphone?
- Position the microphone correctly, reduce background noise, and use audio software for fine-tuning.
- Why is there an echo when using my USB microphone?
- Lower the microphone volume, keep speakers away from the mic, and use headphones to prevent feedback.
- Do I need special software to use a USB microphone?
- Most USB microphones are plug-and-play, but audio software can provide additional features and control.
- Can I use a USB microphone with a tablet or smartphone?
- Yes, with the appropriate adapters or connectors, many USB microphones can be used with tablets and smartphones.


Leave a Reply